Enable MyWishlist Storefront Feature
When you install MyWishlist app on your Shopify store, we install this App by default with disable Store frontend feature
- Enabled MyWishlist on a Current theme
- In the admin console, go to Apps > MyWishlist
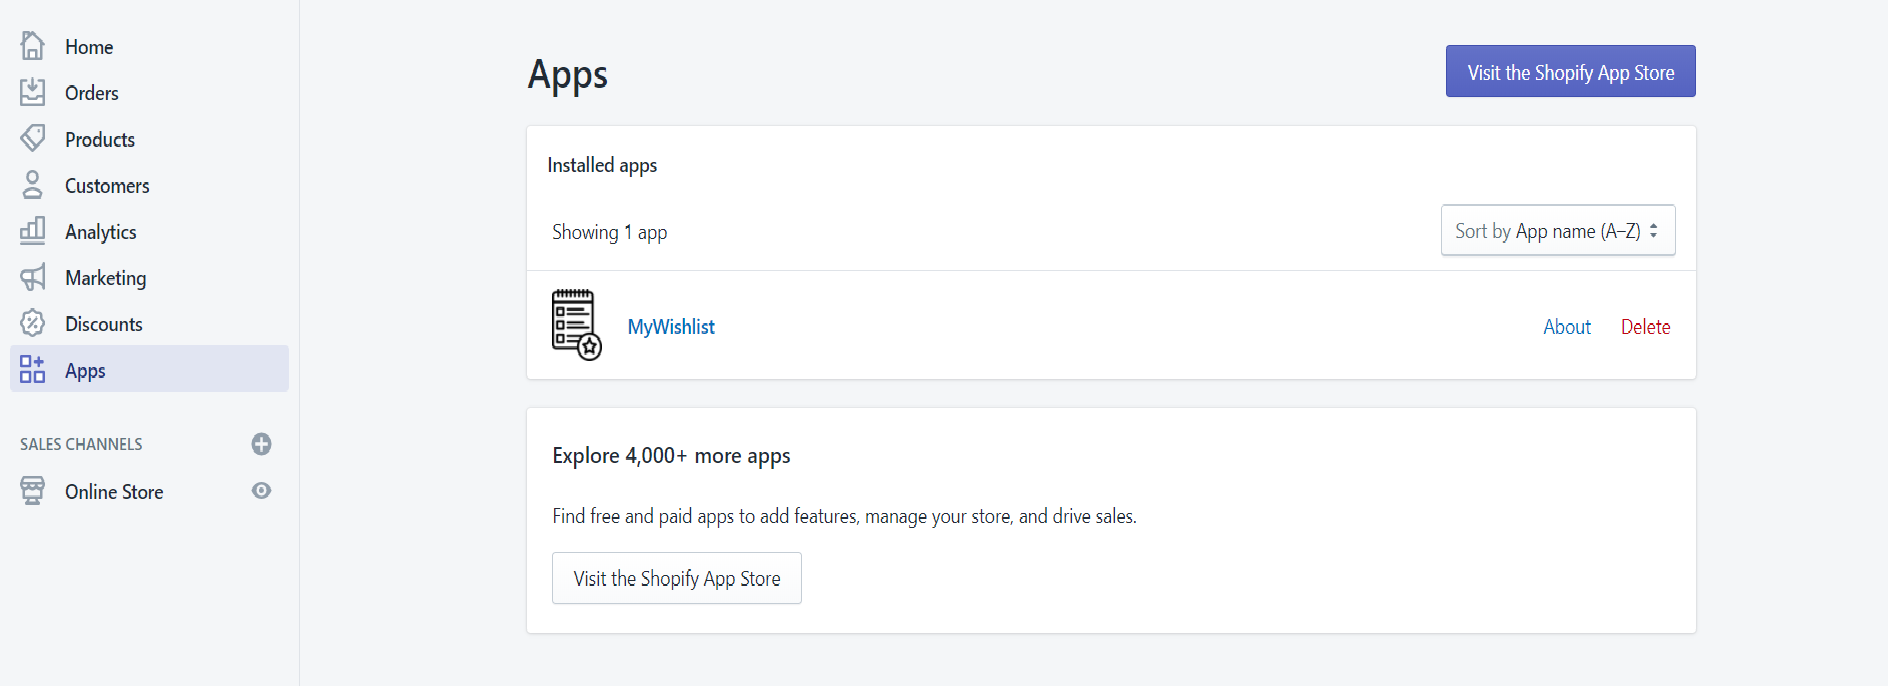
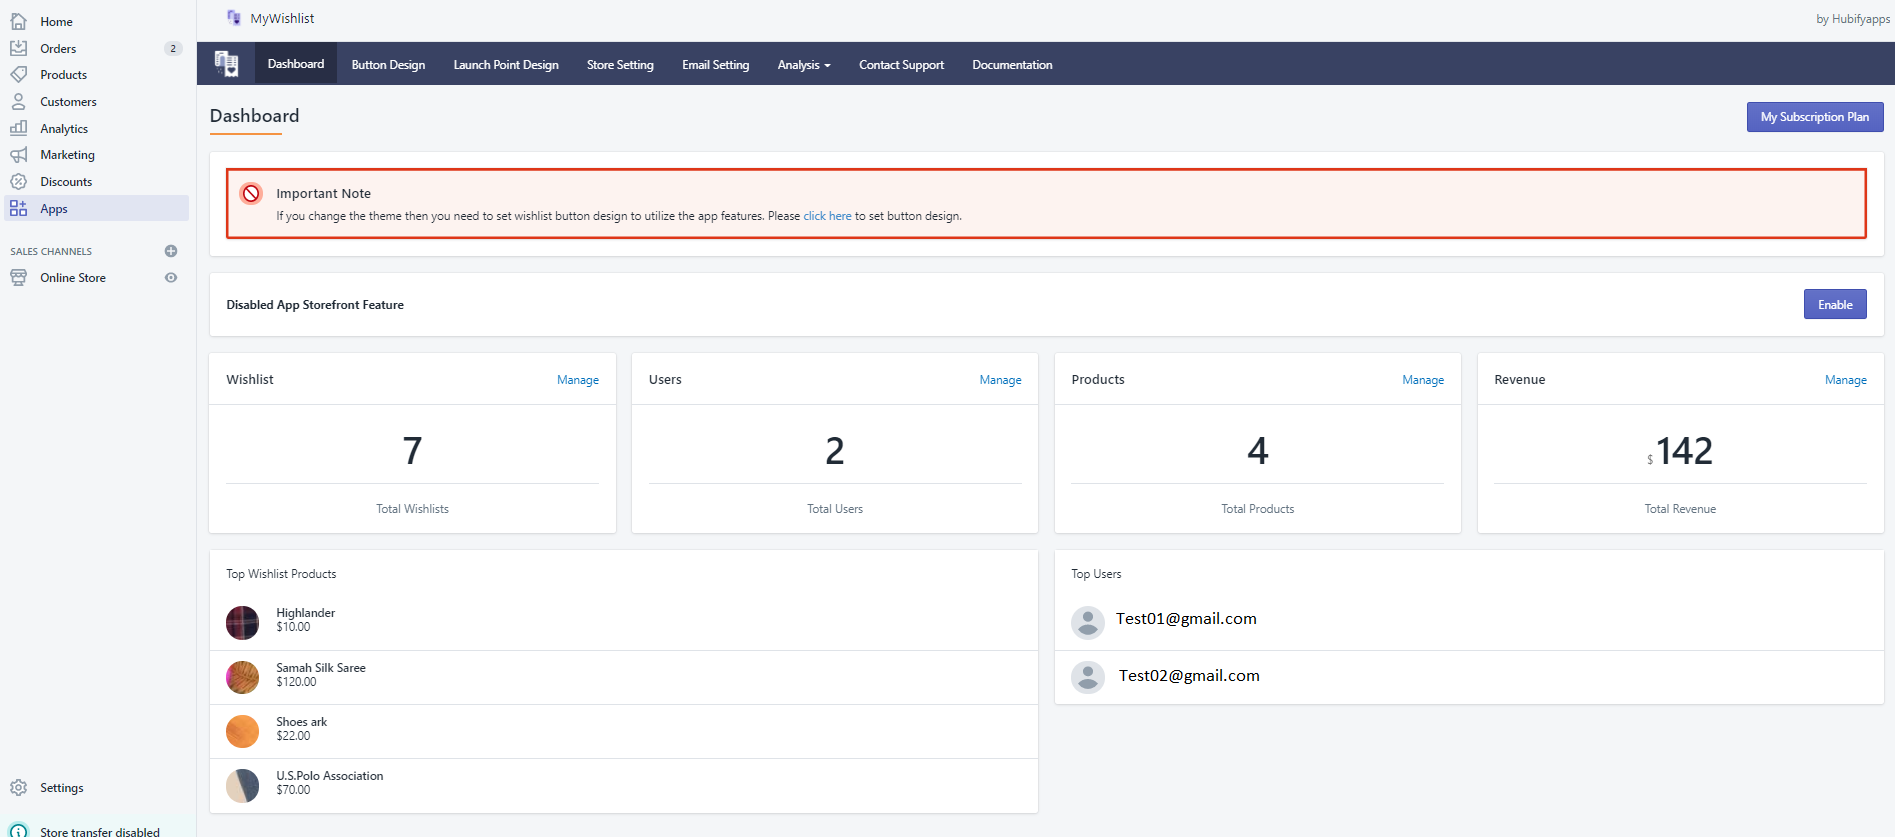
- How to Enable Store frontend Feature: Click to the " MyWishlist app" and go to the Dashboard and Click on Enable-Disable button. Please see below Screenshot..
- In the admin console, go to Apps > MyWishlist
-
Once you installed the app then you need to complete the Button design setting to make the functionality workable on the front-end. If you don’t configure button design so it might cause store frontend feature. (It is one time setting after installation)
- In the admin console, go to Dashboard > Button design menu
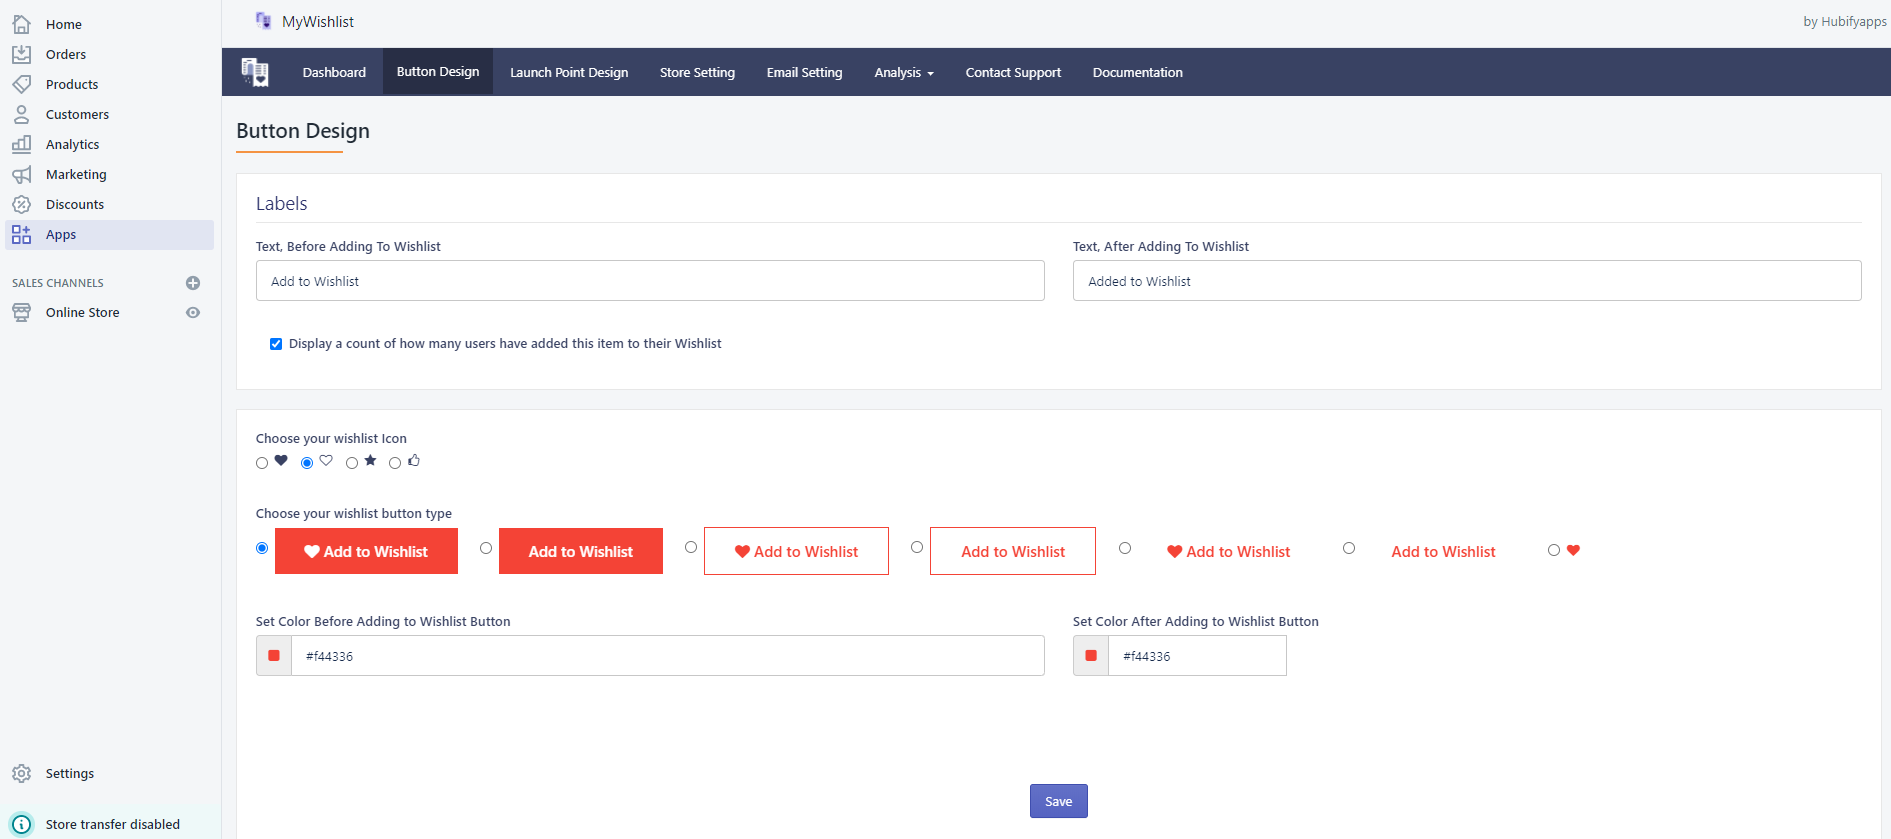
- In the admin console, go to Dashboard > Button design menu
Manual Process for Installing the MyWishlist Feature on Your Shopify Theme
When you install MyWishlist App on your Shopify store, we install this application by default on the Current theme. However, in case if the default and Automation approach does not work then you can follow the manual process as given below.
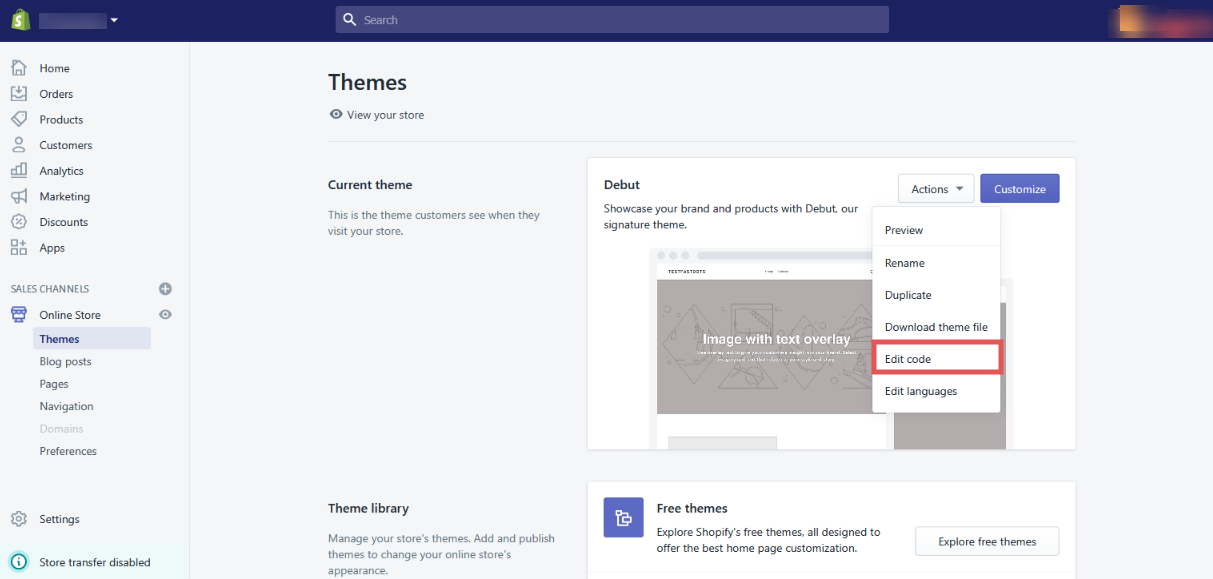
- In the admin console, go to Online Store > theme
- Choose the Current theme
- Click on Action > Edit Code (Please check the below screenshot)
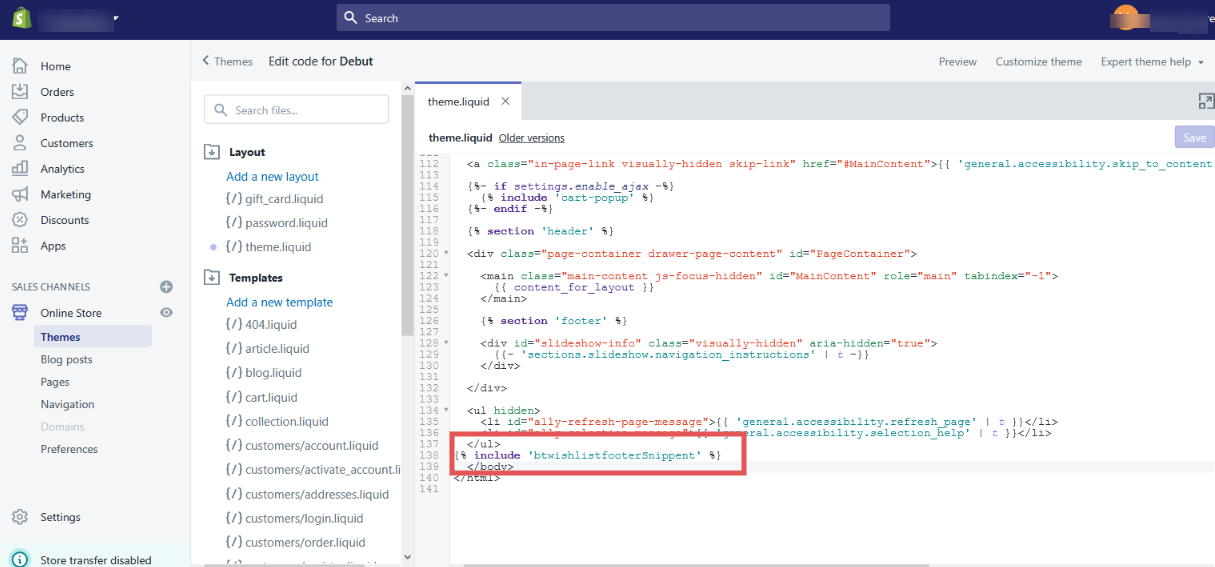
How to Updated the theme.liquid file
- In the Left side menu, Look for “theme.liquid” file and open it (Please check the below screenshot-1)

- Search code at the end of the file. If you could not get that code then added manually
-
{% include 'btwishlistfooterSnippent' %}
How to Installing the MyWishlist Feature on the another Theme (How to change the theme)
To enable/install the MyWishlist on the another theme, You need to make sure all the configuration settings.
- In the admin console, go to Online Store > theme
- Choose the theme
- Click on Action > Publish
- Go to Apps > MyWishlist
- Check Enable app
- Click on Button design menu > Fill all the information and then save the setting
- Note : if Wishlist storefront feature still not appearing then Check the code of the snippet for theme.liquid file Follow us
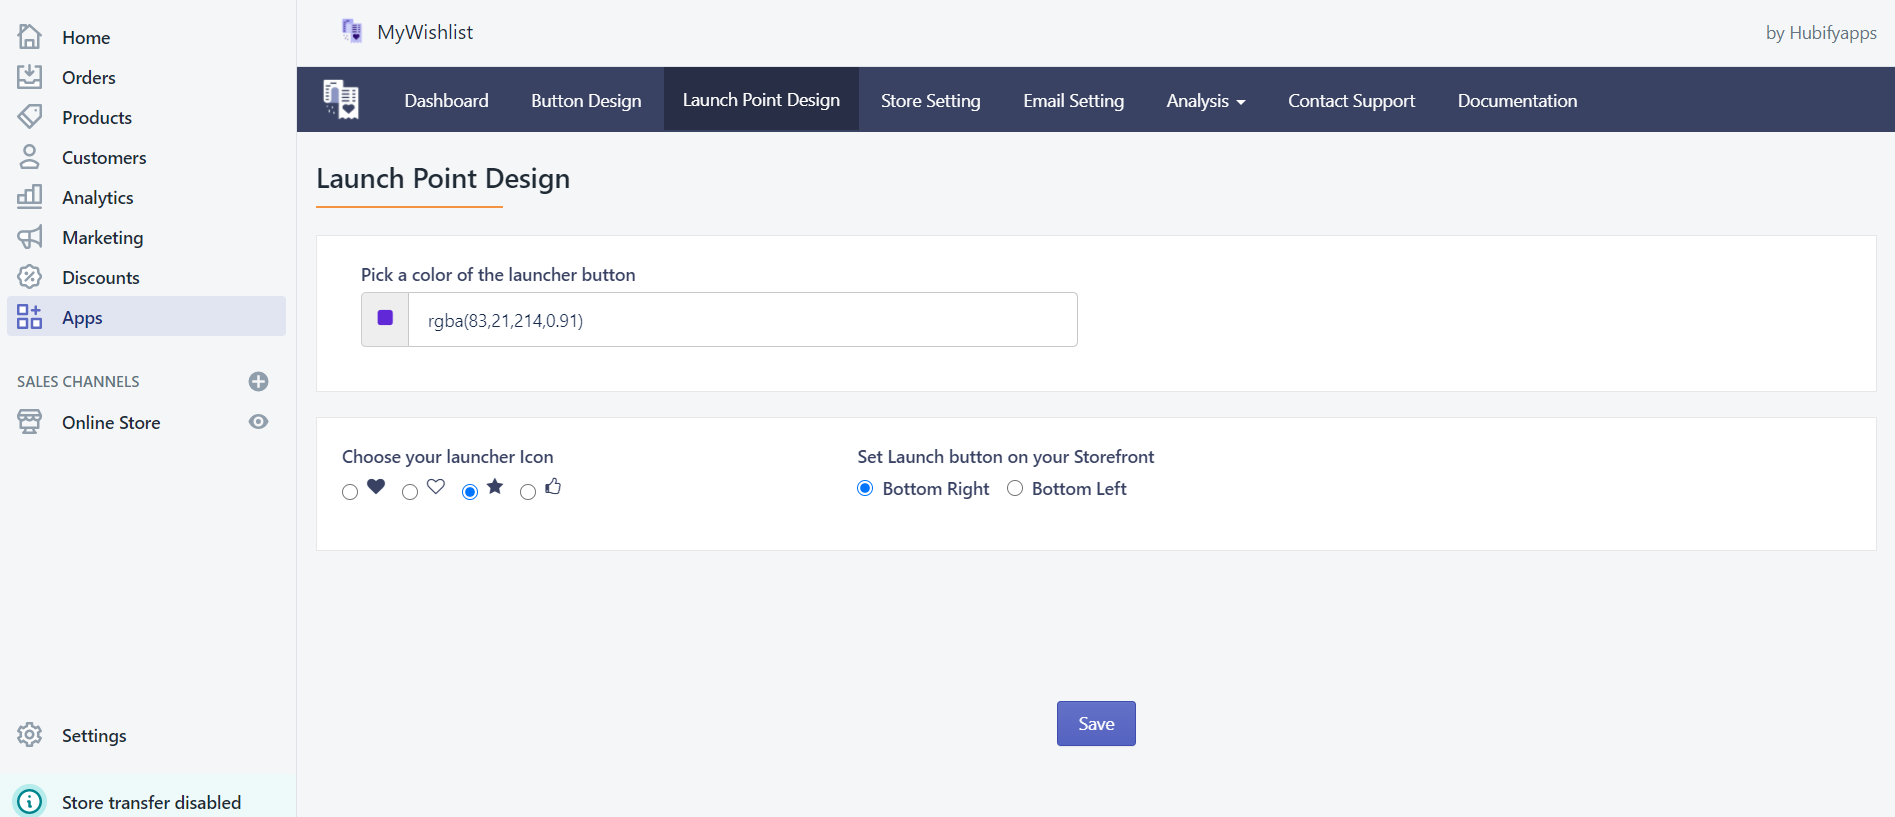
MyWishlist Launch point Settings
The MyWishlist app offers a couple of default options for your launch point – choose your launch point icon, color options & position, etc. If you want to make changes, please follow the process as given below.
- In the admin console, go to Apps > MyWishlist
- Click on Lauch point design menu
Set Launch point in Navigation Menu
This allows you to configure the launch point as a menu option on the navigation bar.
Please follow the steps given below- Goto Shopify Admin Console > Online Store > Navigation
-
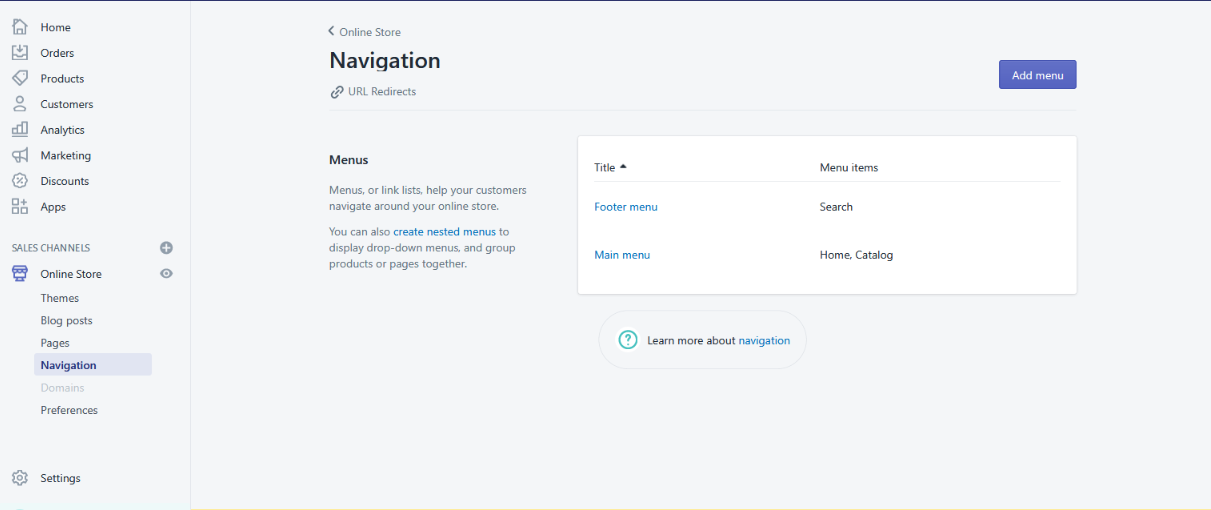
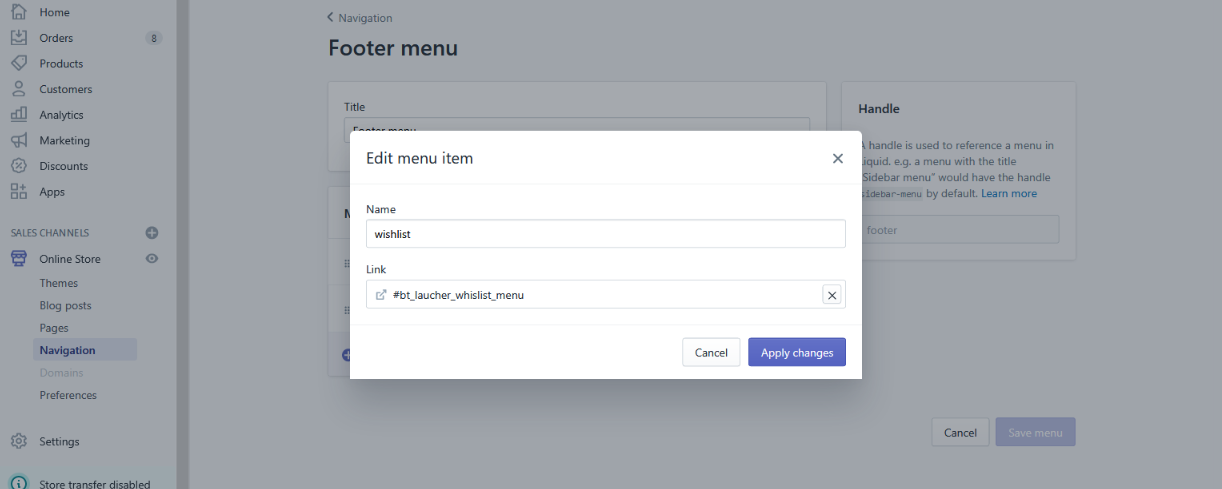
- Select your any menu and click on "Add menu item" to add a new menu item.
-
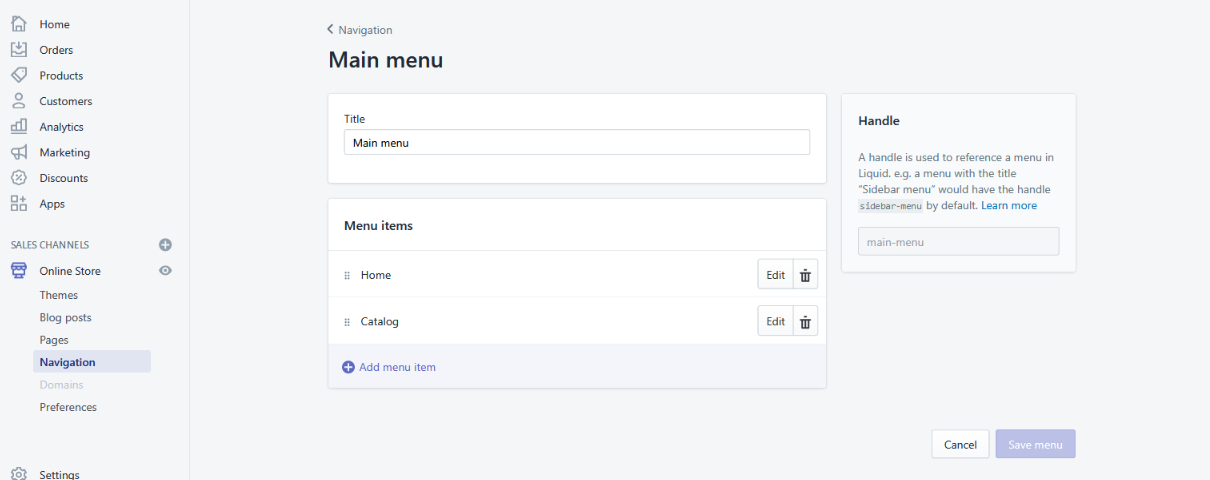
- In the text box for Link, paste the following text: #bt_laucher_whislist_menu
- Click to "Apply changes" Button.
-
Icon as a launch point in the header menu or anywhere on your site.
It is quite easy to enable the icon to the site’s header menu or anywhere on the site. Follow the some steps.
- Identify the nav bar liquid file that has the code for the account and cart. The liquid file varies based on the theme your site is built with, here are some of the files that we have seen the code is placed in:
- sections/header.liquid
- snippets/header-bar.liquid
- layout/theme.liquid
- Insert the code below at the place where you’d want the icon to appear
-
<a href="#bt_laucher_whislist_menu" class="btwap-wishlist-icon bt-icon-4x"> <i aria-hidden="true" class="fa fa-heart"></i> </a>

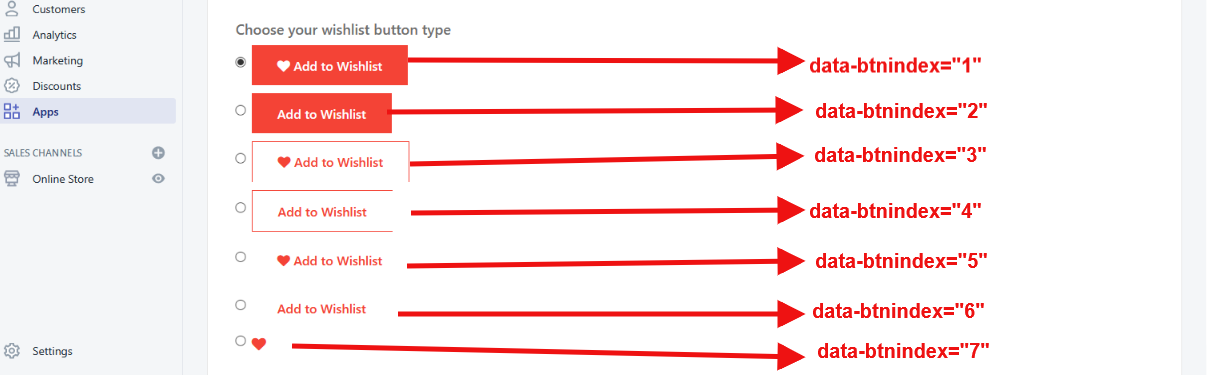
How to set "Add to Wishlist" Button Placement
On the product details page, “Add to Wishlist” button gets attached below or next to the “Add to Cart” button. Please follow the process as given below.
- Step 1: Goto Shopify Admin Console > Online Store > Themes > Edit Code
- Step 2: Find the template/snippet file which renders your product page and add the code below at the position
where you prefer to attach our button. Here for example, we are placing it next to the Price element.
HTML code to be copy-pasted:
<div class="btwishlist_custom_product_list" data-productid="{{ product.id }}" data-btnindex="1"></div>
Add Wishlist Button to Quickview
Quite a number of stores have Quick View enabled to make shopping easier for customers. It is simple to enable “Add to Wishlist” functionality for Quick View as well.
- Identify the Quick View rendering in your store. Based on your theme and the quick view app that you have installed,
it varies. Some of the files that we have seen the quick view code to be on is
- snippets/quick-view.liquid
- templates/product.quick.liquid
-
Copy-paste the following snippet in the place where you want to show the button in your code
<div class="btwishlist_custom_product_list" data-productid="{{ product.id }}" data-btnindex="1"></div>
Add Wishlist Button to Your Collections Page
Wishlist is enabled by default on your product pages, but it’s generally a good idea to add the button to your Collections pages as well – especially for shoppers on a mobile device, that’s a really low-friction way for them to bookmark their favorite products. Here is how you can enable an “Add to Wishlist” button on your Collection pages:
- Find the right file from which your product card gets displayed in the collection. Depending on your theme, it will be one of these files
- snippets/product-listing.liquid
- snippets/products-grid.liquid
- snippets/product-grid-item.liquid
- snippets/product-card.liquid
- snippets/product-listing-item.liquid
- snippets/product-loop.liquid
- snippets/product-item.liquid
- snippets/product-thumbnail.liquid
- snippets/product-card-grid.liquid
- snippets/product-block.liquid
- snippets/product-listing-slider.liquid
- snippets/product-thumbnail.liquid
- snippets/product-item.liquid
- snippets/product-loop-grid.liquid
- snippets/snippet-product-item.liquid
Note: If you don’t find any of these files, email contact@hubifyapps.com and we will help you find the right file for your theme.
-
Copy-paste the following snippet in the place where you want to show the button in your code
<div class="btwishlist_custom_product_list" data-productid="{{ product.id }}" data-btnindex="1"></div>